Living on a sailboat during the winter months has unique challenges, as most boats are primarily designed for warmer water environments. If you live in a colder climate in the north, you already know that the winter weather and storms turn lakes and rivers into ice, requiring proper winter boat storage – your boat to be hauled out of the water, dry storage to be found, and shrink wrap added around your boat. If you live further south in a warmer climate, it is possible to live on a river, lake, or ocean that doesn’t freeze during the winter season, but you might be far enough north to experience freezing temperatures and occasional deep snow. This is the case for us where boating season lasts most of the year, but we get a couple cold months. We live on the fresh water Tennessee River / Fort Loudoun Lake in Knoxville, Tennessee. We usually get no more than a dusting to a couple inches of snow most years and the river/lake never freezes over except every ten years or so, we get a storm that dumps several inches of snow on us.
Before the extreme cold and deep snow arrives, there are several things you need to consider to make sure your boat is protected and you are warm and comfortable with the winter temperatures.
Here are our tips and what we do to prepare:
If you are new to boating, here are a few definitions you need to know.
SEACOCK: A valve that goes through the hull of a boat below the waterline. These are used to pull water in or send water out of a boat. Seacocks are used to get water to your boat engine, marine heating and cooling units, sinks, and toilets. Other seacocks discharge water out of the engine, sinks or waste treatment systems like a Purasan.
AFT: The back of a boat.
V-BERTH: The front cabin of the boat. It gets its name because it is shaped like a V.
MASTER CABIN: Our main bedroom where we sleep.
COMPANIONWAY: The large entrance way from the top of a boat down into the main living space.
ADD INSULATION
The first thing you will need to do is insulate the interior of the boat to retain heat. Use materials like foam boards, cold weather stripping, and thermal curtains for windows. Adding insulation is one of the most important things to do to prepare for the cold and lower temperatures.
Boats are not known for having great insulation, so you will need to help your vessel hold in as much heat as possible. Before our first snow storm, I knew we needed insulation. We received nine inches of snow or more with lows down to -3 degrees Fahrenheit. I bought two pieces of 1” x 2’ x 2’ XPS foam insulation (buy) with an R-5 efficiency value. I used one in the V-berth 2’ x 2’ escape hatch. This kept the front and V-berth areas of the boat significantly warmer and easier to heat. I also added another piece of the same insulation behind the wall in our master aft cabin where we sleep. This wall comes down and we use the area behind it to store items like our tiny shop-vac (buy), fishing gear, and other larger items. Since our diesel fuel tank is against this wall on one side, the 2’ x 2’ piece stretched most of the way across. I keep the insulation in this area the rest of the year to help control the heat and cold coming into our master cabin. I also keep the insulation in the escape hatch above the V-birth during the summer heat to keep the cool air in.
One thing to note is I bought the 2’ x 2’ XPS boards because of their pre-cut size, a decent R-5 value, ability to resist water, and it was in-stock at my local Hardwear store. XPS is NOT great for the environment and I would prefer something better, but staying warm and getting it installed fast was my primary focus. A better way to go would be to buy a larger 4′ x 8′ sheet of polyiso insulation and cut each piece the exact size you need. You would have a higher R-value, plus polyiso is still be water resistant and better for the environment.
Beyond the normal types of insulation, I also use everything from the leftover pieces of couch cushion foam to PFDs (life jackets) to stuff in areas where heat could easily escape. I do not add thermal curtains because we like to look out, plus winter snows and cold are short lived in Tennessee.
FILL YOUR WATER TANKS AND CONSERVE WATER!
During periods of prolonged cold, it is very easy for a local marina’s waterlines to freeze. Unlike in a home where the lines are buried in the warmer ground, a marina usually has its water supply running beside the dock or under the water. That means it will get colder and can freeze faster. I fill our 100-gallon freshwater tank to the top and we conserved water. Even if you have a water maker, it could easily freeze and not work.
POWER SUPPLY – BE REDUNDANT IN YOUR REDUNDANCY
If you have ever paid a power bill on a home or rental unit and lived in a climate that gets cold, you already know how much more power is needed to heat vs cooling it. This is the same on a boat. If you typically don’t have power usage issues, you might in the winter. Plus if you live in an area that doesn’t receive a lot of snow, your power is more likely to go out at some point. The power lines in Buffalo, New York can handle the weight of a heavy snow, but the lines in places like Tennessee, South Carolina, Texas, Georgia, Florida, and others cannot.
On our power pedestal at the marina, we have a 50amp and a 30amp plug. I typically don’t use the 30amp plug at all. From the 50amp connection, I have a splitter that turns the 50amps into two 30amp cables. I need one 30amp connection for my boat’s main breaker system and another 30amp connection for my main marine heater. The main marine heater in the master cabin requires less than 20amps of power, so I am always able to draw the full 30amps of power to my main breaker system and have 20amps for the main heater. Since we have a battery bank powered by solar and a wind generator, we typically use a lot of DC power from the batteries. This setup works great most of the time. We use very little AC power from the marina pedestal, especially in the summer months when a lot of sun hits our solar panels. When the snow and cold comes, we lose our ability to recharge the batteries from our solar panels and don’t get a lot of wind to recharge from the wind generator. To keep from using more than 30amps at one time, which would be easy to do since the hot water heater uses 12amps of power to heat, I bought an adapter that turns my pedestal’s unused 30amp plug into two 15amp plugs. 15amp plugs are your typical wall outlets. I am now able to run two outdoor power chords (buy) into my boat after drilling two small holes into the bottom part of the plexiglass at the companionway.
That gives me the ability to power our EdenPURE heater (buy) off one of the extension chords and keep our power consumption low on the boat’s main breaker. This heater is good enough to heat the boat on a cool to somewhat cold night by itself. Between the main marine heater in the master cabin and the EdenPURE heater, living on the boat at negative 3-degrees is warm and toasty! The only other heat I add is a small electric heater (buy) blowing under the sink and bilge area where most of my seacocks and water lines are located. If those freeze and break, the boat will start to sink or at least cause serious damage and very costly repairs. The seacock areas are the most important part of your boat to keep from freezing and breaking!
HAVE BACKUP POWER
As I mentioned above, I have a 50amp and a 30amp power plug on my marina power pedestal. If one plug goes bad, I still have the other. I also have a 30amp generator that I can easily plug into the boat’s main breaker system or my main marine heater. Having these options offers a peace of mind that will give you the ability to enjoy the snowy season on your boat.
HAVE A BACKUP TO YOUR BACKUP POWER
If for some reason the generator stops working and the power is out at the marina pedestal, I have a Jackery portable power station (buy). The Jackery provides enough battery power to maintain our small electric blanket and keep us warm for several hours. Hopefully by then, we would have power restored or the generator problem figured out. If not, we have a propane stove and oven to cook on which will add heat to our boat. Always make sure you have different options and backups available when it comes to power!
MAKE SURE YOUR ENGINE WILL RUN AND IS MAINTAINED – THE BACKUP TO THE BACKUP TO THE BACKUP
If you have’t caught the theme for the last few steps – it’s redundancy. If you get into a situation where your power goes out and generator fails, you will need to start your engine to keep your boat warm and the seacocks from freezing. The first step is the check the engine water intake to make sure any strainers on the lines are not clogged with debris. That is very common on the river we live on and it can cause engine damage. We often have to clean the strainer to the engine and marine air/heating unit. Also make sure to check your boat’s oil and oil filter, add fuel stabilizer to your fuel tank, and check your fuel lines and fuel filter. You don’t want to have issues with your engine running because of low engine oil, old oil, or poor boat maintenance.
MAKE SURE SEACOCKS ARE WARM AND PROTECTED
As I mentioned above, one of the fastest ways to sink a boat is for a seacock to leak water into the boat after it freezes and breaks. I start by opening the doors and panels that lead to the various seacocks to get heat to them. I then place a small electric heater pointed under the sink where most of my seacocks and the bilge areas are. I point my EdenPURE heater in towards the front of the boat so it can heat the three seacocks near the front. A bilge heater (buy) is the best way to add heat to your seacock areas. Bilge heaters will turn on when the temperature reaches a certain degree and shuts off when it gets warmer. Better units offer several options so you can adjust the temperature the heater kicks on or off. Some boat brands (like Carver Yachts) often have one central bilge area with most of the seacocks located on one place. Having a bilge heater (buy) there makes it easy to keep your seacocks warm. My Hunter 40 Legend sailboat has seacocks from the front to the back, but three are located in one central area under the sink. That is where I point my electric heater. It will depend on the type of boat you have if you need more than one bilge heater (buy).
DRAIN THE WATER HOSES AND LEAVE THE WATER DRIPPING OUTSIDE
In East Tennessee, we don’t get a lot of extremely cold nights. We get nights in the upper 20s and lower 30s, but anything below that is unusual. When the temperature drops below that, I drain the water hose and leave the water spigot slowly running to prevent the main line from freezing. Moving water doesn’t freeze as easily as water sitting in one place. Some marinas turn the water supply off when it gets cold and use an air compressor to blow any water out of the lines, so know what your marina is planning to do!
HAVE MORE HEATERS AVAILABLE
Continuing on my redundancy department of redundancy department rant, you may need more heat than you anticipate. For my boat, I have two more electric heaters that are never used. Hopefully they won’t ever be used, but I have them if I need them. Heaters are great additions for a master cabin, v-berth area, under sinks with seacocks, or near your water system.
SNOW REMOVAL AND KEEPING SHOW OFF YOUR BOAT
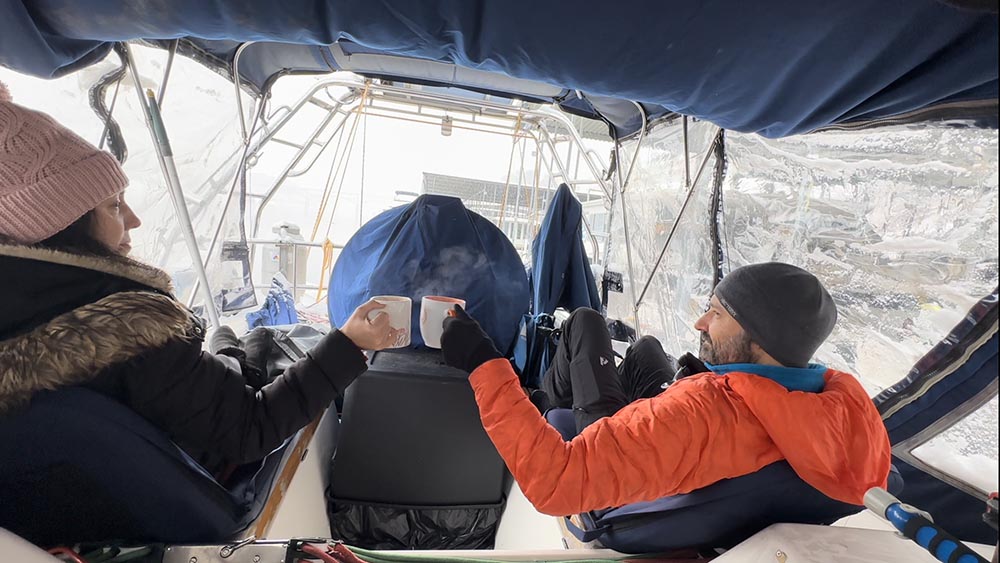
Having snow on a boat can be beautiful and give you a sense that you are out in nature. But too much snow can cause issues. It you have any biminis (canvas covers) on the boat, a deep snow might collapse, rip, or pull the zipper’s stitching apart. Clear your Bimini tops before the snow gets too deep. Putting a boat cover over part of your boat’s deck and adding marine wall panels is the most optimum way and best option to keep deep snow off the helm and companionway areas your boat. The clear plastic wall panels will not only keep this area dry and free of snow, it keeps the temperature warmer and the wind out. It will be a few degrees warmer around the cockpit and companionway areas than it is outside, which will also keep the extreme cold off this area of your boat and easier to heat in the cabins below. We also love to sit by the cockpit area, drink hot chocolate (buy), and enjoy watching the snow fall.
HAVE ENOUGH FOOD AND NON-PERISHABLE ITEMS
Make sure you emergency supplies on board, including extra blankets, warm clothing, and non-perishable food items. Be prepared for power outages and have a backup plan. In our case, I fill our two small refrigerators full of food, but also put frozen fish, chicken, and ice in my Yeti 65 (buy) cooler up top. I remove the drain plug to get some of the frozen air inside the cooler, but the top sealed to keep the raccoons out. Since we have electric and a propane options for our stove and oven, we know we can cook if all the power goes out.
MAKE SURE ITS LEGAL TO STAY ON YOUR BOAT DURING THE WINTER
Check local regulations and marina rules regarding living aboard during winter. Some marinas have restrictions, specific guidelines, and reduced services like waste pumpouts. Many marinas drain the water lines during the winter months.
VENTILATION AND HUMIDITY CONTROL
Ensure proper ventilation to prevent condensation inside the boat, which can lead to mold and mildew issues. If you take a glass of water, add ice, and place it in a warm room, condensation will build on the outside of the glass and run down onto a table within minutes. The same thing happens on a boat. When it is cold outside and your boat is warm, condensation will start to enter your boat. That is why boats have bilge areas and bilge pumps that condensation and any other water can run to. In the winter months, your boat will become very humid and start to “sweat” on the inside if it becomes too humid. If the humidity level is too high, you will see water forming on the windows, walls, and everything inside. This is why you need a dehumidifier (buy) to keep the levels low.
If you don’t, you will have issues like mildew and mold. Plus as the humidity level rises, it will feel colder in your boat. A dehumidifier is a must have for all seasons, but especially in the winter. I keep mine running constantly through all seasons.
PROTECT YOUR DINGHY AND/OR OUTBOARD MOTORS
Make sure to take care of your boat’s engine or trolling motor. If you can, store them in a warm and dry place to prevent potential damage. It your marina offers winter storage space or an indoor storage area, it would be a good idea to take advantage of that. The next step is to put your boat’s battery in a dry place and add a trickle charger on the battery to keep it charged and working properly. When it get really cold, I keep my dinghy’s battery in the boat to keep it warm. Some boat owners live in an area where the water temperature is much warmer than the air temperature, so they leave the dinghy motor’s lower in the water to stay warm.
CLEAN THE HEATING UNIT INTAKE
Just like you need to clean your engine’s water intake strainer, you need to clean the strainers to your heating unit. If your heating unit uses water to maintain the temperature of the unit, it might overheat and stop working. I had this happen to a friend of mine. He spent five nights in a hotel after his main marine heater got clogged with debris and his boat was 55-degrees with all his other heaters on high. In his case, he did not have a strainer on his main heating unit so its pump was clogged. If you don’t have a strainer (buy), make sure you get one asap! They are cheap (typically $20 to $30) depending on the hose size and fitting type.
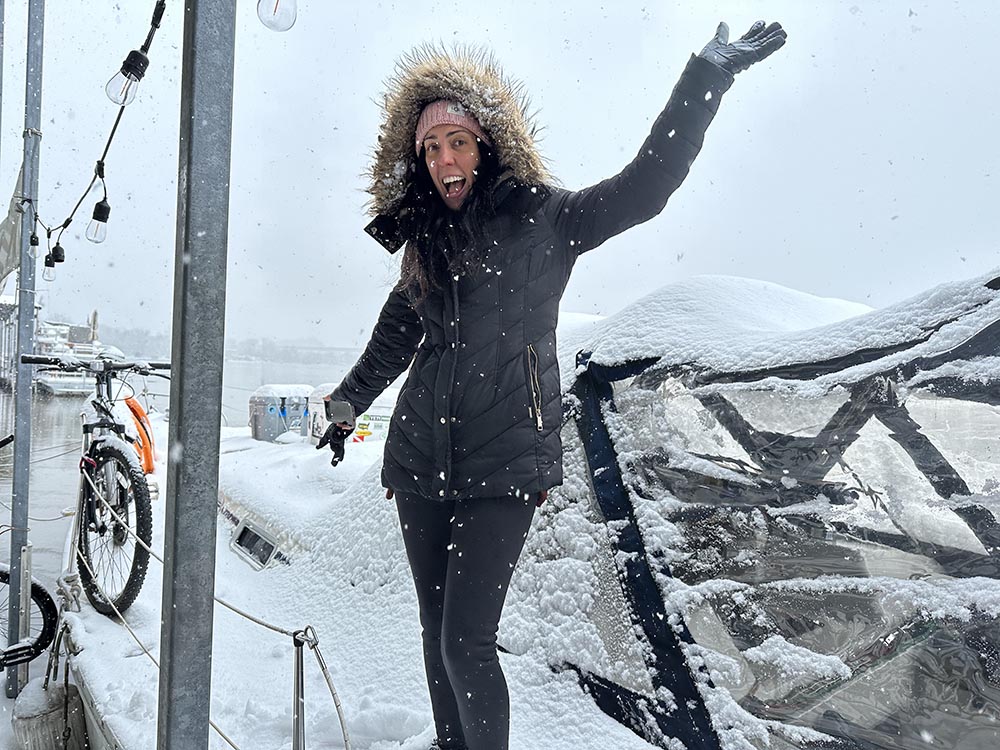
DANCE IN THE SNOW!
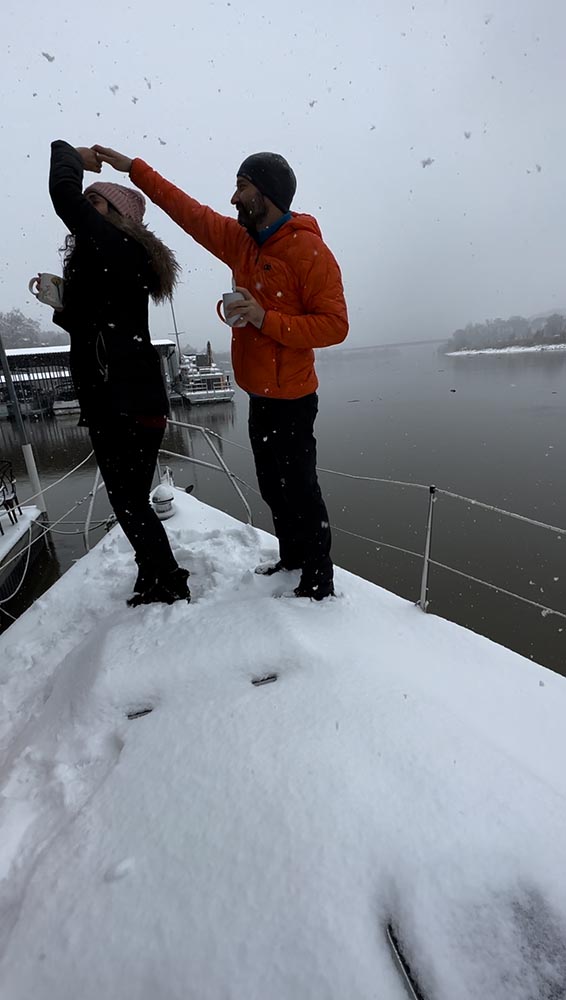
Don’t forget to enjoy the snow, play, have snowball fights, and dance! This is a magical, fun, and great time of year to be on a the water. Just don’t fall in!!!!!
Note: This article contain links to products on Amazon. I receive commission on qualifying purchases made after following these links. This allows me to continue to travel and create high quality content for you.